In the summer of 2015, Park City and Canyons officially merged, creating America’s largest ski resort. One pass is good all the skiing at Park City Mountain Resort and The Canyons you desire, but sometimes it feels like they’re still two separate resorts joined only by the 1.5-mile-long Quicksilver Gondola
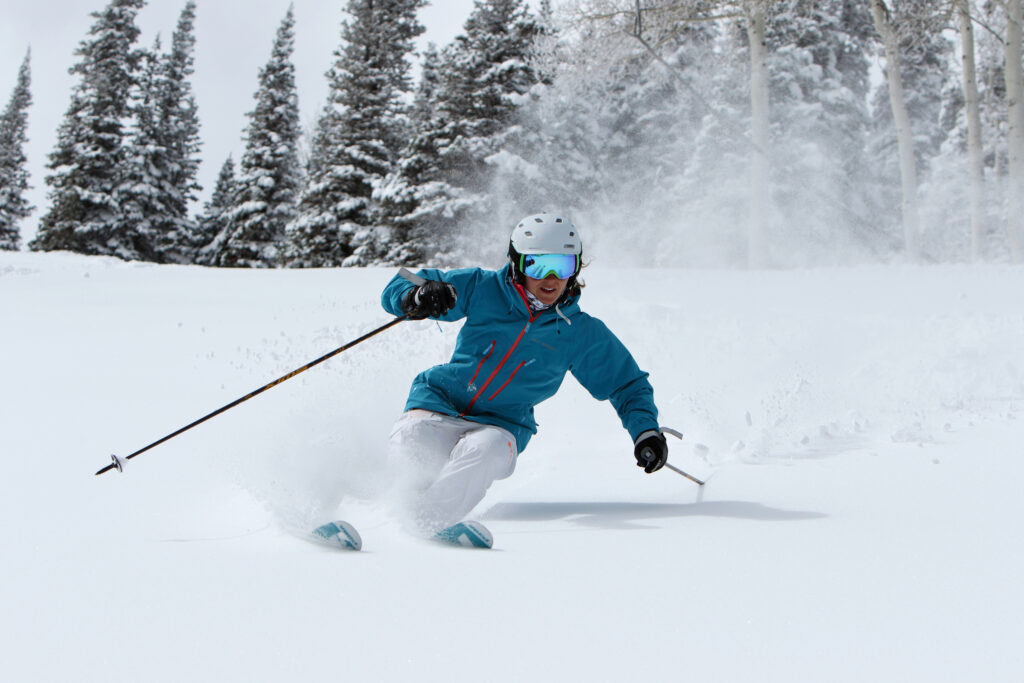
This guide is for skiers who want to ski on their ski vacation. I am a PSIA certified ski instructor with over 20 years experience teaching at all levels on the top mountains in the western US, including four years in Salt Lake City. Keep reading if you dream all summer long about perfect powder mornings. If you’d rather go on a sleigh ride when the snow’s falling, perhaps this guide isn’t for you.
The Park City side is known for wider runs that tend to spread people out, a more extensive selection of greens and easy blues, and incredible terrain parks. The Canyons side is known for a labyrinth of lifts that fan you out across the mountainside. There’s enough diversity of terrain on either side to satisfy any level of skier.
Both sides also have full-service ski villages, Mountain Village in Park City and Canyons Village in Canyons. There’s also a small base area around the Town Lift in downtown Park City.
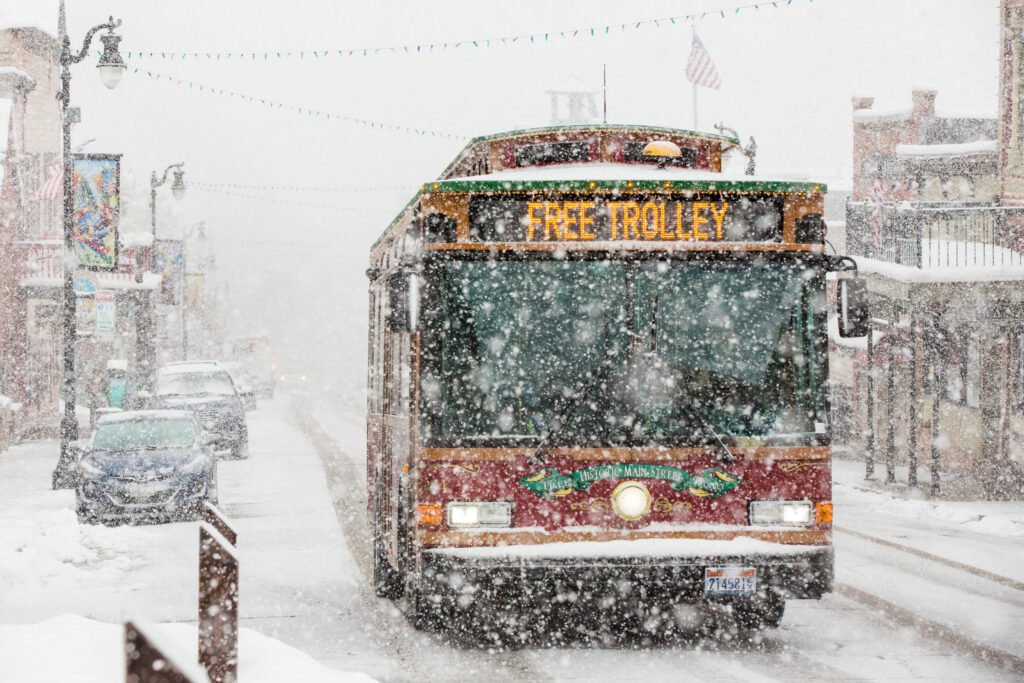
Hotels, restaurants, and resorts service each side, but locals tend to gravitate toward Canyons because of the easy parking. According to Park City’s Parking page – “Free parking is still available at the Canyons Village base area, Park City High School (on weekends and holidays) and High Valley Transit Park-n-Ride locations like Richardson Flat and Ecker Hill.” Where as – “Advance reservations are required seven days a week in the Mountain Village base area until 1:00 pm”
An Epic Pass is the best way to get discount Park City lift tickets. You can ski any day, all season long with the full EPIC Pass. However, if you don’t mind blackout dates over Thanksgiving, Christmas, MLK, and President’s Day, you might want to save money and get the Local Pass or Day Passes. You can also snag buddy tickets if you order early. EPIC has a convenient compare pass page that can help you decide which pass is best for you.
You can also order tickets from Park City Mountain Resort and maybe find some discount tickets at Canyon Sports and AJ Motion Sports.

We built a Google interactive map of the areas we’ll mention in this guide that has a natural orientation looking north. Be warned, the mountain ski maps are oriented toward the slopes (S-SW). You can always click in and load this map on Google Earth and rotate it to your heart’s content, including 3D terrain projection.
Here’s another hint: if you’re tracking your day on Strava, you can click into the live map to see not only where you’re at, but also the heat map of trails so you know the more popular runs. It’s up to you to choose whether to stay with the herd or brave untracked lines
Certain countries (looking at you, Japan) use slope angles to describe a mountain’s steepness. What a novel concept! In America, the marketing department can get involved and put “expert terrain” on mountains that don’t deserve it. Of course, expert terrain is more than just the slope. There are obstacles, surfaces, widths, and consequences of falls to consider.
That said, most green and easy blues are going to be groomed and arbitrarily wide, so slope angle is the biggest differentiation between these runs.
Snow Brain’s guide to terrain awareness says, “Typically, green runs are anything less than 15 degrees, whereas blue runs are between 15-25 degrees.” They also say King Con, with a 30% grade, is an easy blue, but I digress.
Wikipedia’s article on piste says, “In general, beginner slopes (green circle) are between 6% and 25%. Intermediate slopes (blue square) are between 25% and 40%,” based on the most difficult part. King Con’s maximum slope is 40%, so it’s a pretty beefy blue.
The math nerds can geek out over the definition of maximum slope, whether it’s an instantaneous value or moving average. To make it easy, we only calculated the slope on runs marked on Strava or Trail Forks and used the maximum slope calculated across their distance bins. We have a spreadsheet with the details (’cause that’s what you get when you have a rocket-scientist helping to write your ski guide, lol!) and a chart that might help you gauge which terrain is right for you at Park City.
The bunny run on the Park City side is aptly called First Time and is accessed by the First Time Lift. There’s an alternate way down that’s nearly identical, going down Turtle Trail and Lower Home Run. When you feel comfortable on Lower Home Run, take the Payday lift to Middle Home Run, then add the Bonanza Lift to access Upper Home Run.
On the Canyons Side, there’s High Meadow Park, which also has parallel runs (The Meadows / Meadow Way) traversing along the lift (High Meadow). After that, you’re out of green runs to try unless you feel comfortable on the Hidden Bear and Alley Cats adventure trails.
Drift to Blanche is probably the next easiest green run, but if you miss the turn onto Blanche, you’re skiing a blue down. (Word to the wise: keep heading perpendicular to the Payday Lift.) For that reason, I’d be tempted to skip that and start riding Bonanza.
When you’re comfortable, poke your skis down Claim Jumper, which is probably the best green run on the entire mountain. It typically has fresh powder on the left-hand side and generally good snow all around. It’s steep enough to work on edge control, and a gully forms a natural half-pipe on the top section. There’s also lots of good areas where you can stop and chill, including a historic King Con ore cart.
If you want to work on your blue progression, the Park City side is where it’s at. Let’s make this simple. Start with Treasure Hollow off Home Run, then try the lower half of Silver Skis. Yes, Silver Skis is a black run, but if you hop on after the first big hairpin after Treasure Hollow, it’s pretty mellow. If you have any doubts, put our map onto Google Earth and switch to a 3D view.
The next progression is either Joney’s / Muckers or Mel’s Alley / Lower Hidden Splendor (from Mel’s Alley to Claim Jumper). All things being equal, I might start at Mel’s, but I could easily be persuaded to try the other side based on snow, traffic, or lift lines.
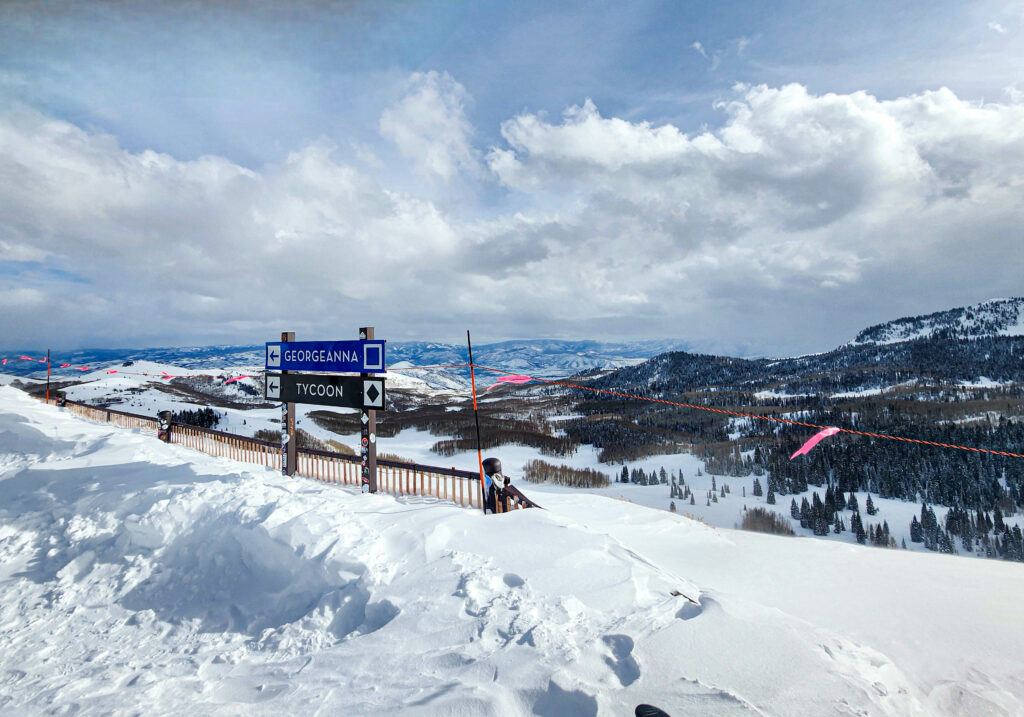
Once you get these runs mastered, try touring the mountain on some of the more remote but still relatively easy blues like Georgiana or King Con Ridge / Temptation. You could also join a complimentary Historic Mining Tour that takes you to historic locations on green and easy blue routes.
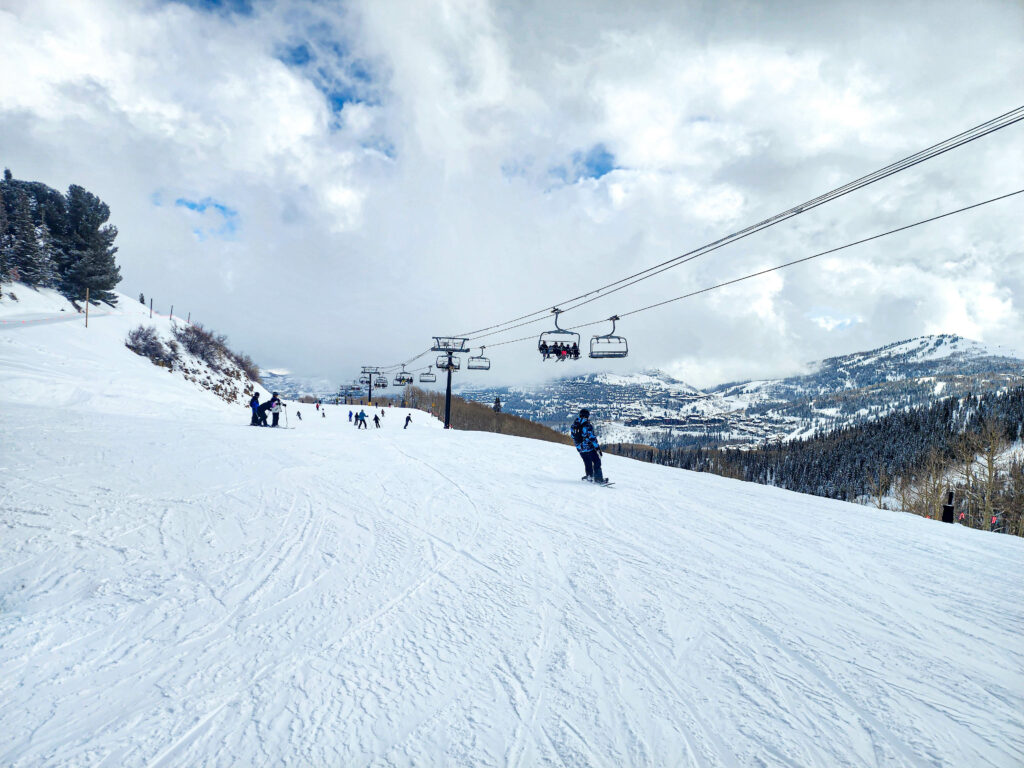
The Canyons side of Park City is a sprawling resort waiting to be explored once you’re comfortable on intermediate blues. We’ll share our “tour de blues” from our friend Jenna Powell, a 20+ year Park City Instructor, that will get you around the mountain without getting into too much trouble. Of course, and as always, check the grooming report before heading out.
This route is written as a loop starting and ending at the Quicksilver Gondola connection to the Park City side, but since it’s a loop, you can start and end from Canyon Village if you like.
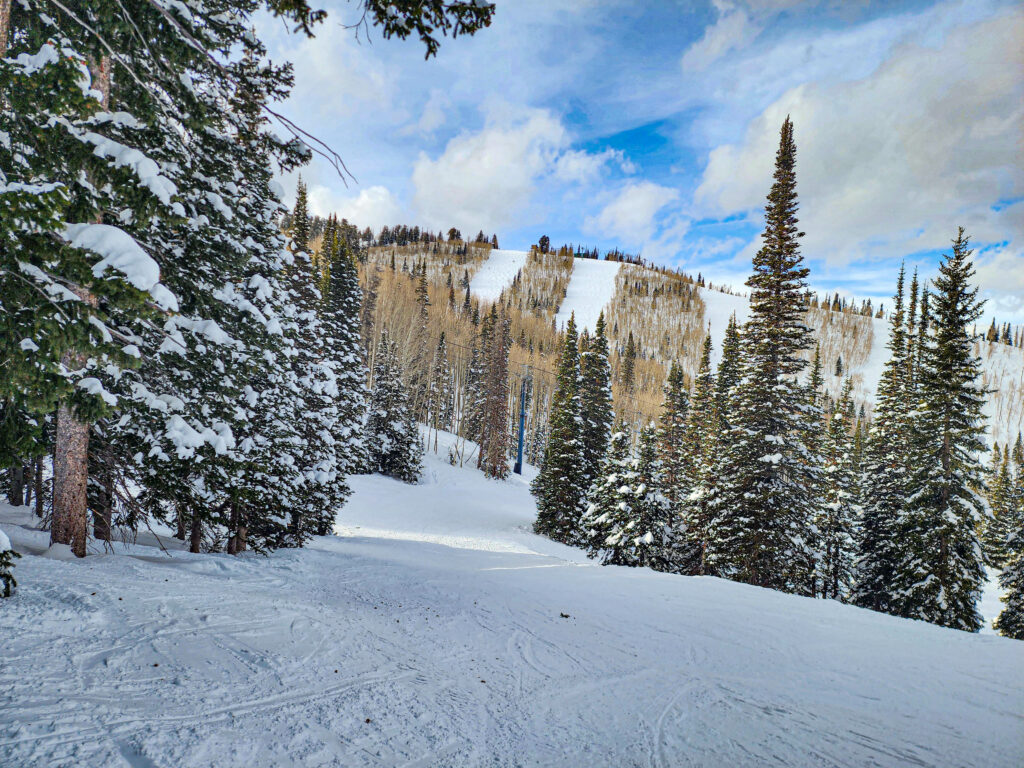
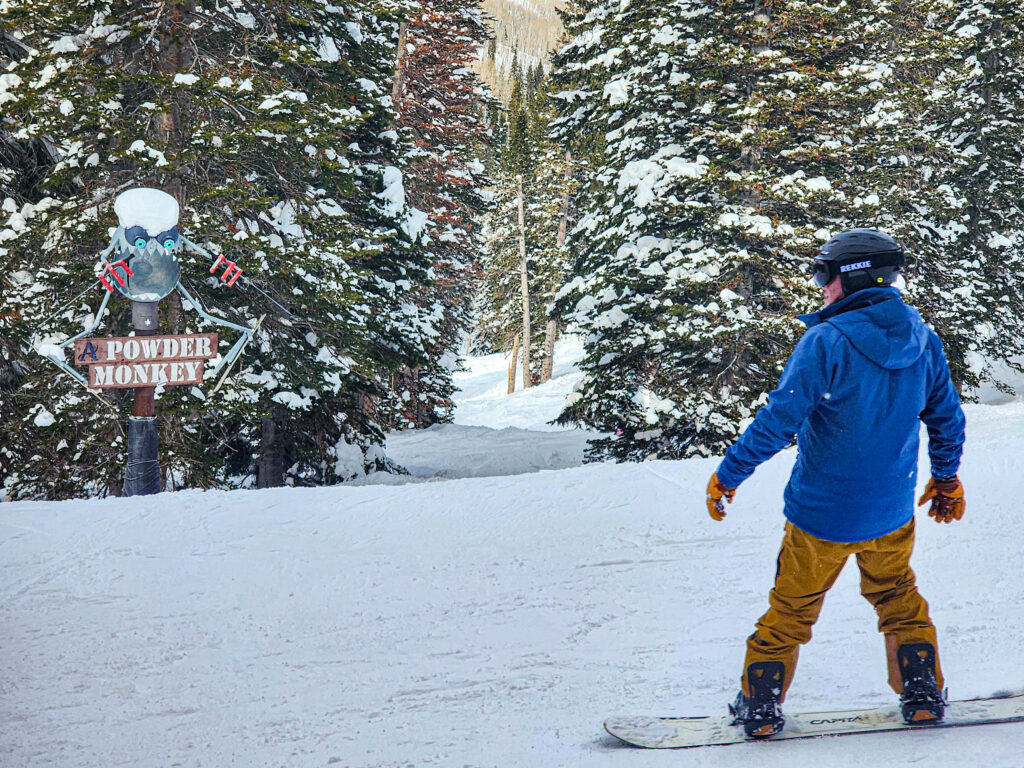
Adventure trails are like training wheels for getting you off-piste. You’ll encounter a little bit of trees, some tight turns, a wide variety of whoop-de-do’s, and maybe a bit of powder if you’re lucky. It’s a chance to develop skills without too much consequence if you mess up.
Without further ado, here’s a rundown of the Park City’s Adventure Trails (aka Adventure Alleys) roughly in order of difficulty.
As we mentioned in the “How Steep Are the Ski Runs at Park City” section, groomed greens and blues are generally arbitrarily wide, so it’s the slope that determines the difficulty. That’s true for some groomed blacks, too, but many blacks are ungroomed with other features that increase the difficulty, such as bumps, rocks, trees, and tight turns.
Advancing to black runs isn’t a linear progression, as each run has its own character. This is why, when I was teaching adult lessons in Alta, expert skiers booked me for many private sessions to show them specific features, like the traverse to Alf’s High Rustler. Getting a lesson is always a good idea, especially when returning to skiing, progressing to new skills, or navigating challenging terrain.
That being said, there are some general concepts and progressions that could help when skiing blacks at Park City:
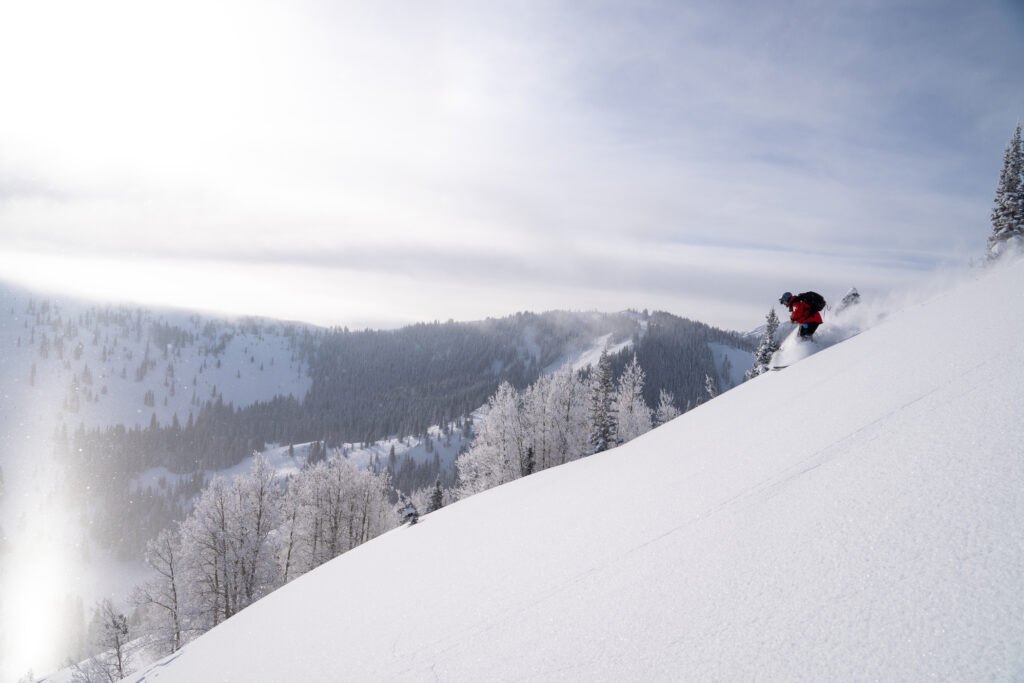
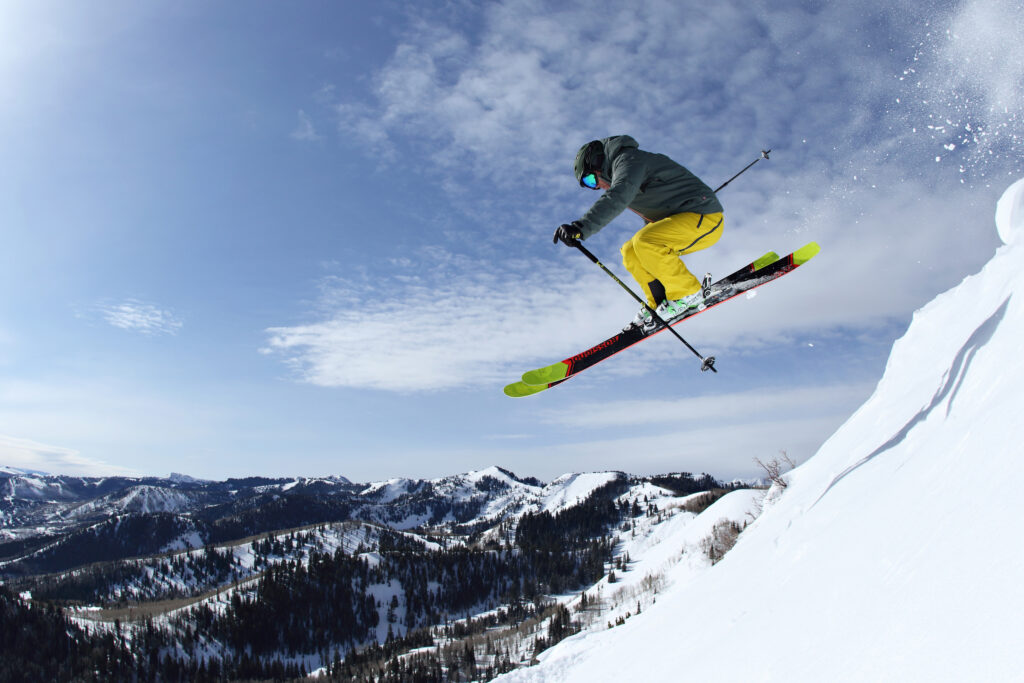
Everybody has an opinion about expert terrain at Park City; this is mine. There are some super fun expert runs that don’t start from the ridgeline. McConkey’s Bowl and The Black Forest off McConkey’s Lift are underrated with sneaky powder pockets. Even the mid-mountain Motherlode Meadows and the Ninja Trees are worth hitting up, especially if it’s been a minute since the last snow.
If you’re bee-lining for the ridgeline, I like the Jupiter (Peak and Bowl) better than Ninety Nine 90 or Peak 5 for the snow and the vibe. However, my favorite runs are off Pinecone Ridge.
The ridge is often closed, but every now and then, you’ll just notice all of a sudden that the ridge is getting hammered with lines. If you’re on Pioneer and or Thames, you might even see the cat running. On days like this, there’s complimentary cat skiing with a pickup in Scott’s Bowl. Free cat skiing off Pinecone Ridge is the best expert skiing in Park City! That said, it rarely happens…but keep your eyes open, one day you might score yourself a lucky cat ride.
The 3 Kings Terrain Park with 3 Kings, Half Pipe, Pick N’ Shovel, Mini Pipe, and Upper First Time makes Park City a premier terrain park destination, but it doesn’t stop there. The half-pipe is legit, and there are plenty of jumps and features of all sizes. 3 Kings is right off of Mountain Village and is worth a look for voyeurism alone!
Little Kings is a small park where you can play on the five Jumps and seven features. Other medium-sized terrain parks around the mountain include Pick Axe (formerly The Ridge Terrain Park) and Transitions.
If you want to ski on the cheap, pack a sandwich to eat on Quicksilver Gondola. It’s a long enough ride that you can finish before you disembark. If you’re a little more civilized (or have a few more Andrew Jackson’s in your pocket), both Canyon and Mountain Villages have many food and drink options. However, it’s a bit of a hike, and it can be hard to rally and get back on the mountain.
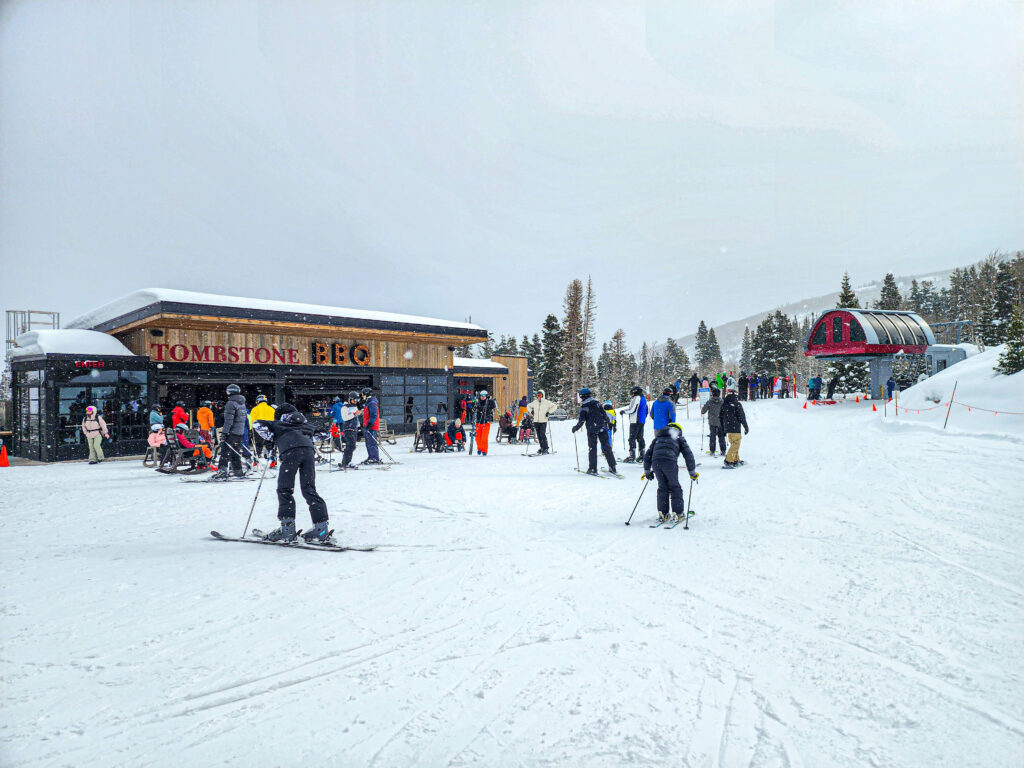
My money is with the on-mountain dining:
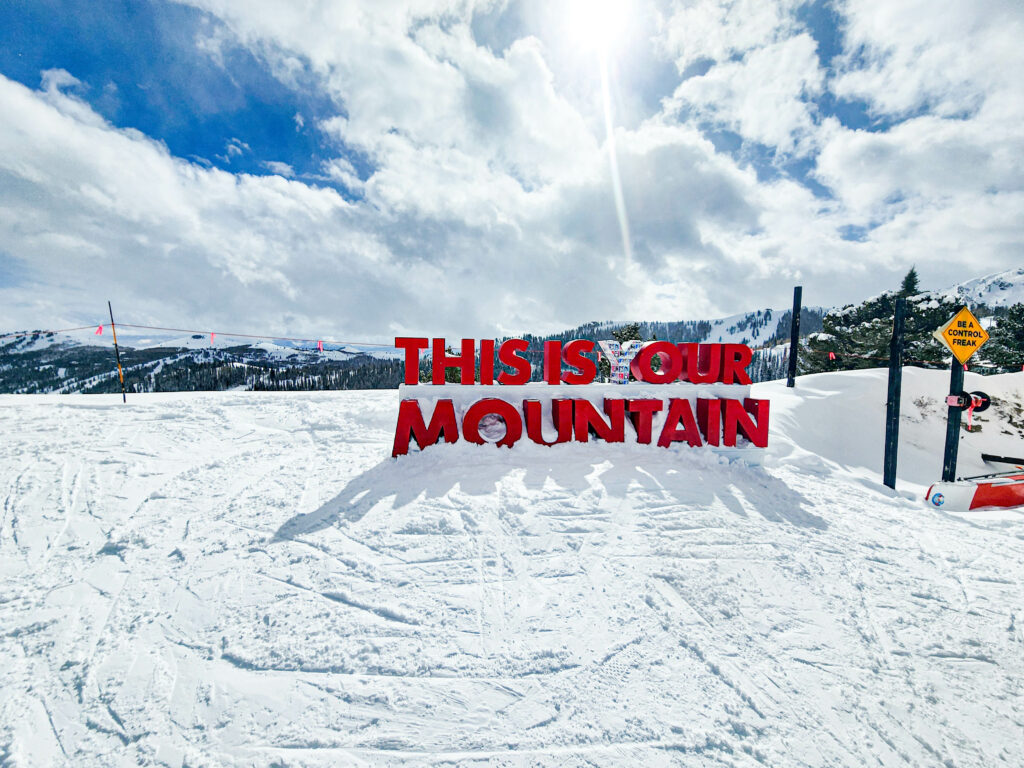
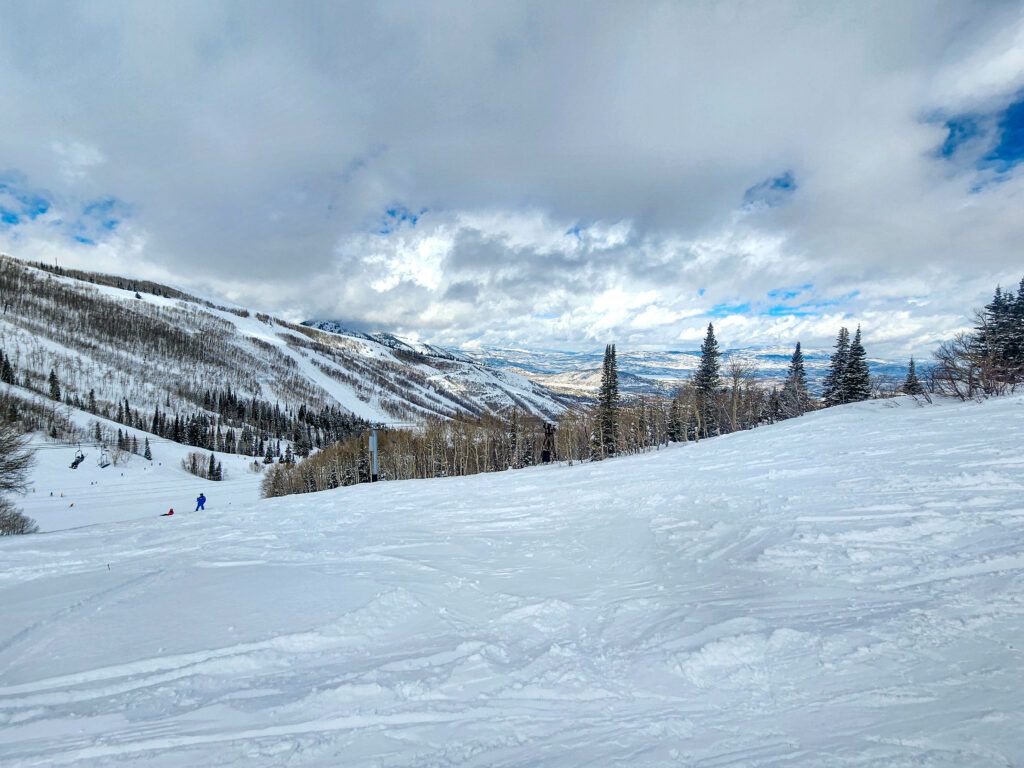
Park City is the biggest ski resort in America and a premier destination for ski enthusiasts of all levels. It will take at least two days of skiing to poke around both sides of the mountain on groomers, and that doesn’t include shredding the off-piste runs, taking the complimentary mountain familiarization tours, or trying all the on-mountain restaurants.
Park City is also a charming mountain town with plenty of great restaurants and things to do for non-skiers. You’ll find abundant hotels in Park City, including many right on the base of the mountain. You’re also close enough to ski at Deer Valley for a couple of days (although they’re on the Ikon Pass). If you’re staying at Deer Valley, their transportation system will take you to the Town Lift or Park City base areas.
Regardless of where you choose to stay, sometimes bigger is better! Park City Mountain Resort (including all the extra terrain that came with acquiring The Canyons) is an epic destination ski resort on the EPIC Pass system that lives up to the hype!
Disclosure: A big thank you to Visit Park City for hosting us, setting up a fantastic itinerary, and usage of some of the images throughout.
For more travel inspiration check out Visit Park City’s Instagram, Facebook, Twitter, and YouTube accounts!
As always, the views and opinions expressed are entirely our own, and we only recommend brands and destinations that we 100% stand behind.